How to Read a Mobile Crane Load Chart: A Worked Example
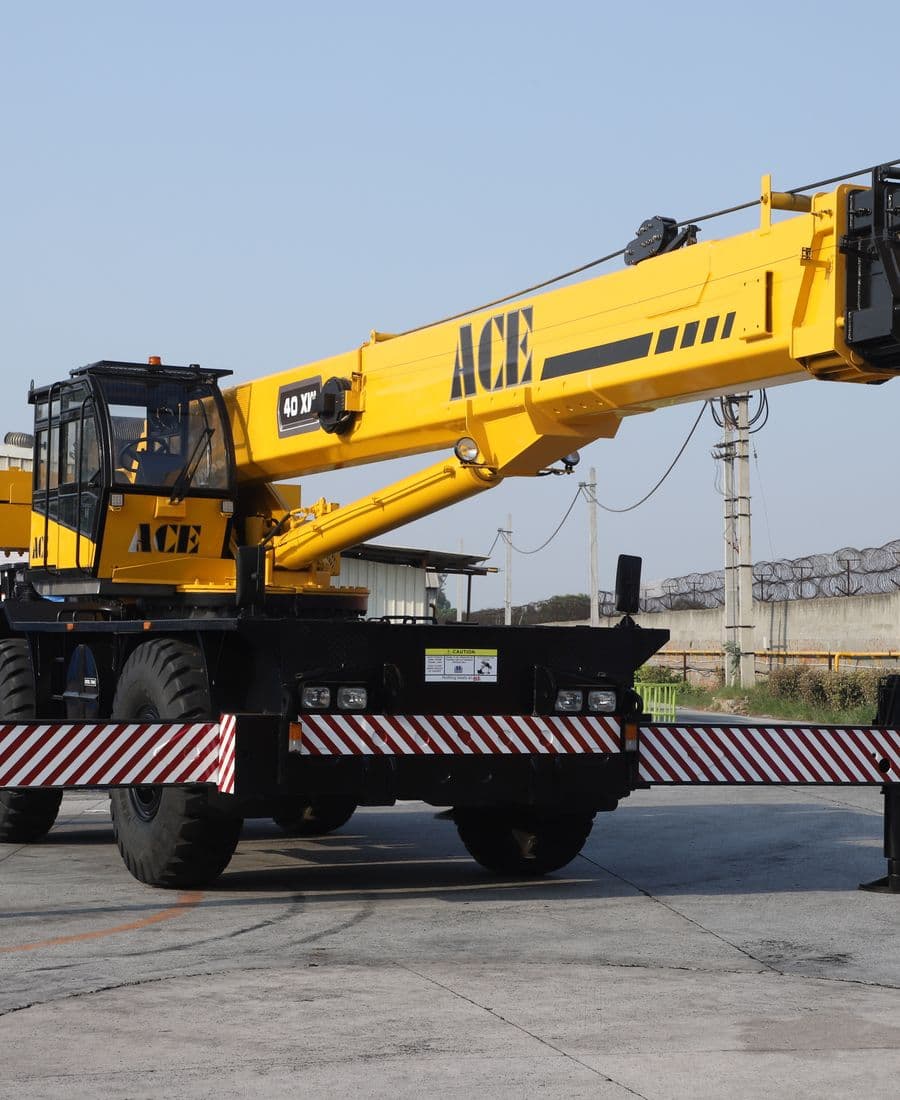
A mobile crane's headline tonnage is the most it can lift in its best configuration, with the load close in. Almost no real lift happens there. The number that matters is on the load chart: what this crane, set up this way, can lift at this radius with this much boom out. Reading the chart correctly is the difference between a lift with margin and one that stalls on the day, or worse.
This guide explains how a typical mobile crane load chart is laid out, walks through a worked example, and lists the details people most often miss. It is a guide to understanding the chart, not a substitute for a lift plan: on the day, the operator and lift supervisor confirm every lift against the crane's own documentation.
What a Load Chart Is
A load chart is the manufacturer's table of rated capacities for a crane. Each figure is the maximum load at a particular combination of radius and boom length, for a particular set-up. Most all-terrain and truck cranes carry a set of charts, one for each combination of counterweight and outrigger extension, and modern cranes also load them into the crane's computer, which warns the operator as the lift approaches the limit.
Step 1: Find the Right Chart for the Set-Up
Before reading any numbers, find the chart that matches how the crane will actually be rigged on site. The header of each chart states its conditions, usually:
- Outrigger extension. Fully extended, or a reduced spread if the site is tight. Reduced spread means lower capacities.
- Counterweight. How many tonnes of counterweight are fitted. Larger cranes travel with counterweight on separate trucks, and less counterweight means a lower chart.
- Slewing range. 360 degrees, or only over the rear or side. Some charts only apply when the load stays within a certain arc.
- On outriggers or on tyres. Lifting on tyres has its own, much lower chart, and some sites do not allow it.
If the site only has room for half-extended outriggers, you must use that chart, even if the crane is the right size on paper.
Step 2: Measure the Radius Properly
Radius is the horizontal distance from the crane's centre of rotation to the centre of the load hanging on the hook. It is not the distance from the outriggers, the cab or the edge of the crane.
For a lift that picks up in one place and sets down in another, check the radius at both points and anywhere the load passes in between. The worst point governs.
Step 3: Choose the Boom Length
The boom has to be long enough to reach the radius and lift the load over whatever is in the way, with clearance for the hook block and rigging. Longer booms reach further and higher, but for the same radius a longer boom usually means a lower capacity, because the boom itself is heavier and sits at a different angle.
So the boom length is not a free choice. Pick the shortest boom that reaches the radius and clears the height.
Step 4: Read the Grid
The main chart is a grid. Rows are radius, columns are boom length, and each cell is the rated capacity in tonnes. Blank cells mean that radius cannot be reached with that boom length.
Here is a short, illustrative extract for a 50-tonne class crane on fully extended outriggers with full counterweight. It is not from a real crane; do not use it for planning.
| Radius | 10.2 m boom | 20.4 m boom | 30.4 m boom | 40.0 m boom |
|---|---|---|---|---|
| 3 m | 50.0 t | 36.0 t | ||
| 6 m | 30.5 t | 27.0 t | 21.0 t | |
| 10 m | 15.5 t | 13.2 t | 10.0 t | |
| 14 m | 9.8 t | 8.4 t | 7.0 t | |
| 18 m | 6.5 t | 5.8 t | 5.0 t | |
| 22 m | 4.2 t | 3.6 t | ||
| 28 m | 2.6 t | 2.3 t |
Two things stand out. Capacity falls sharply with radius: the same crane that lifts 50 tonnes at 3 metres manages around 5 at 18 metres. And at any given radius, the longer boom lifts less.
If your radius falls between two rows, use the next larger radius. If your boom length falls between two columns, use the longer boom. Both give the lower, safer figure.
Step 5: Add Up Everything That Counts as Load
The chart figure is the total the crane can hold on the hook, and on most mobile crane charts that total includes more than the item being lifted. Typically you must add:
- The weight of the load itself, from a drawing, a nameplate or a weighbridge ticket, not a guess
- The hook block, which on a crane this size can weigh several hundred kilograms
- Rigging: slings, shackles, spreader or lifting beam
- Any deductions the chart notes require, such as for a jib carried on the side of the boom
The notes under the chart say exactly what must be deducted. Read them every time; they vary between manufacturers.
A Worked Example
A contractor in Mussafah needs to lift a rooftop air-handling unit. The crane can stand in the yard beside the building, and the set-down point on the roof is 14 metres from the crane's centre of rotation. The roof parapet is 12 metres high.
Load:
- Air-handling unit: 4.2 tonnes (from the manufacturer's data sheet)
- Slings and shackles: 0.3 tonnes
- Hook block: 0.5 tonnes
- Total: 5.0 tonnes
Boom: A 20.4 metre boom reaches 14 metres radius, but the boom angle would be low and the hook would not clear the 12 metre parapet with the rigging hanging below it. The 30.4 metre boom gives the height needed.
Chart: At 14 metres with the 30.4 metre boom, the illustrative chart shows 8.4 tonnes.
Utilisation: 5.0 ÷ 8.4 = about 60 percent of the rated capacity.
That is a comfortable lift for this crane in this set-up. Many contractors and clients set an internal limit, often somewhere around 75 to 85 percent of chart capacity, above which a lift needs a more detailed lift plan and closer supervision. If this unit had weighed 7 tonnes, the same lift would sit at over 90 percent, and the right answer would be a bigger crane or a closer crane position.
What the Chart Assumes
The chart figures only hold if the crane is set up the way the manufacturer assumed:
- Level, firm ground. The crane must be levelled within the manufacturer's tolerance, on outrigger pads sized for the ground. The chart says nothing about whether the ground can take the outrigger loads; that is a separate check, and on backfilled or reclaimed ground in the UAE it is often the deciding one.
- Within the wind limit. Charts assume wind below a stated speed. Large or light loads with a big surface area, such as panels and AC units, catch the wind and may need a lower limit.
- Freely suspended loads. No side loading, no dragging the load, no snatching it off the ground.
- The configuration in the header. Outriggers, counterweight and slew range exactly as stated.
Our site safety checklist before a heavy lift covers ground, exclusion zones and wind checks in detail.
Common Mistakes
- Reading the full-outrigger chart when the site only allows a reduced spread
- Measuring radius from the outrigger or the edge of the crane
- Forgetting the hook block and rigging
- Checking the pick-up radius but not the set-down radius
- Choosing a boom length that reaches but does not clear the height
- Using an estimated load weight with no margin
Before You Book a Crane
You do not need to read the chart yourself to hire a crane, but having the numbers ready makes the conversation faster and the quote more accurate. Send:
- The load weight and dimensions, and where the weight comes from
- The pick-up and set-down points, with distances from where the crane can stand
- The height the load has to clear
- The ground where the crane will stand
- Any space limits for outriggers
Our guide to choosing the right crane capacity covers how these numbers translate into a crane class.
Maxtgc supplies mobile cranes from 25 to 500 tonnes across Abu Dhabi and the UAE, with a certified operator and banksman as standard, and the load chart reviewed against your lift before a crane is dispatched. See our 25 ton, 50 ton and 100 ton crane pages, the full mobile crane rental service, or request a quote with your lift details.
Get a Free Quote
Your details open in WhatsApp, ready to send.